


GraphQL
GraphQL이란 페이스북에서 만든 쿼리 언어이다. GraphQL은 gql이라고도 하며, 클라이언트가 서버로부터 데이터를 좀 더 효율적으로 가져올 수 있도록 하는 역할을 한다. REST API는 URL과 여러 메소드를 조합하여 Endpoint가 다양하지만, GraphQL은 단 하나의 Endpoint를 가진다. 아래는 쿼리의 예시이다.
{
  shelters {
    name
    pets {
      name
    }
  }
}
GraphCMS
GraphCMS는 Headless CMS(Content Management System)의 종류로서 API를 통해 데이터를 쉽게 가져오고 저장할 수 있는 플랫폼이다.
GraphQL Headless CMS with the most flexible content API in the CMS industry.
GraphCMS is the original GraphQL Native Headless Content Management System built to scale with any frontend framework. Start building API First for free.
graphcms.com
이번에 간단한 개인 프로젝트를 진행하는 데에 사용하기도 쉽고 적합한 것 같아 GraphCMS를 사용해보았다. 또한 나같이 작은 프로젝트를 개발할 경우 무료이다. 그럼 먼저 GraphCMS에 회원 등록을 하고 프로젝트를 만들어보자.

Create new project를 통해 프로젝트 생성.

Schema에서 Model을 하나 추가해준다.
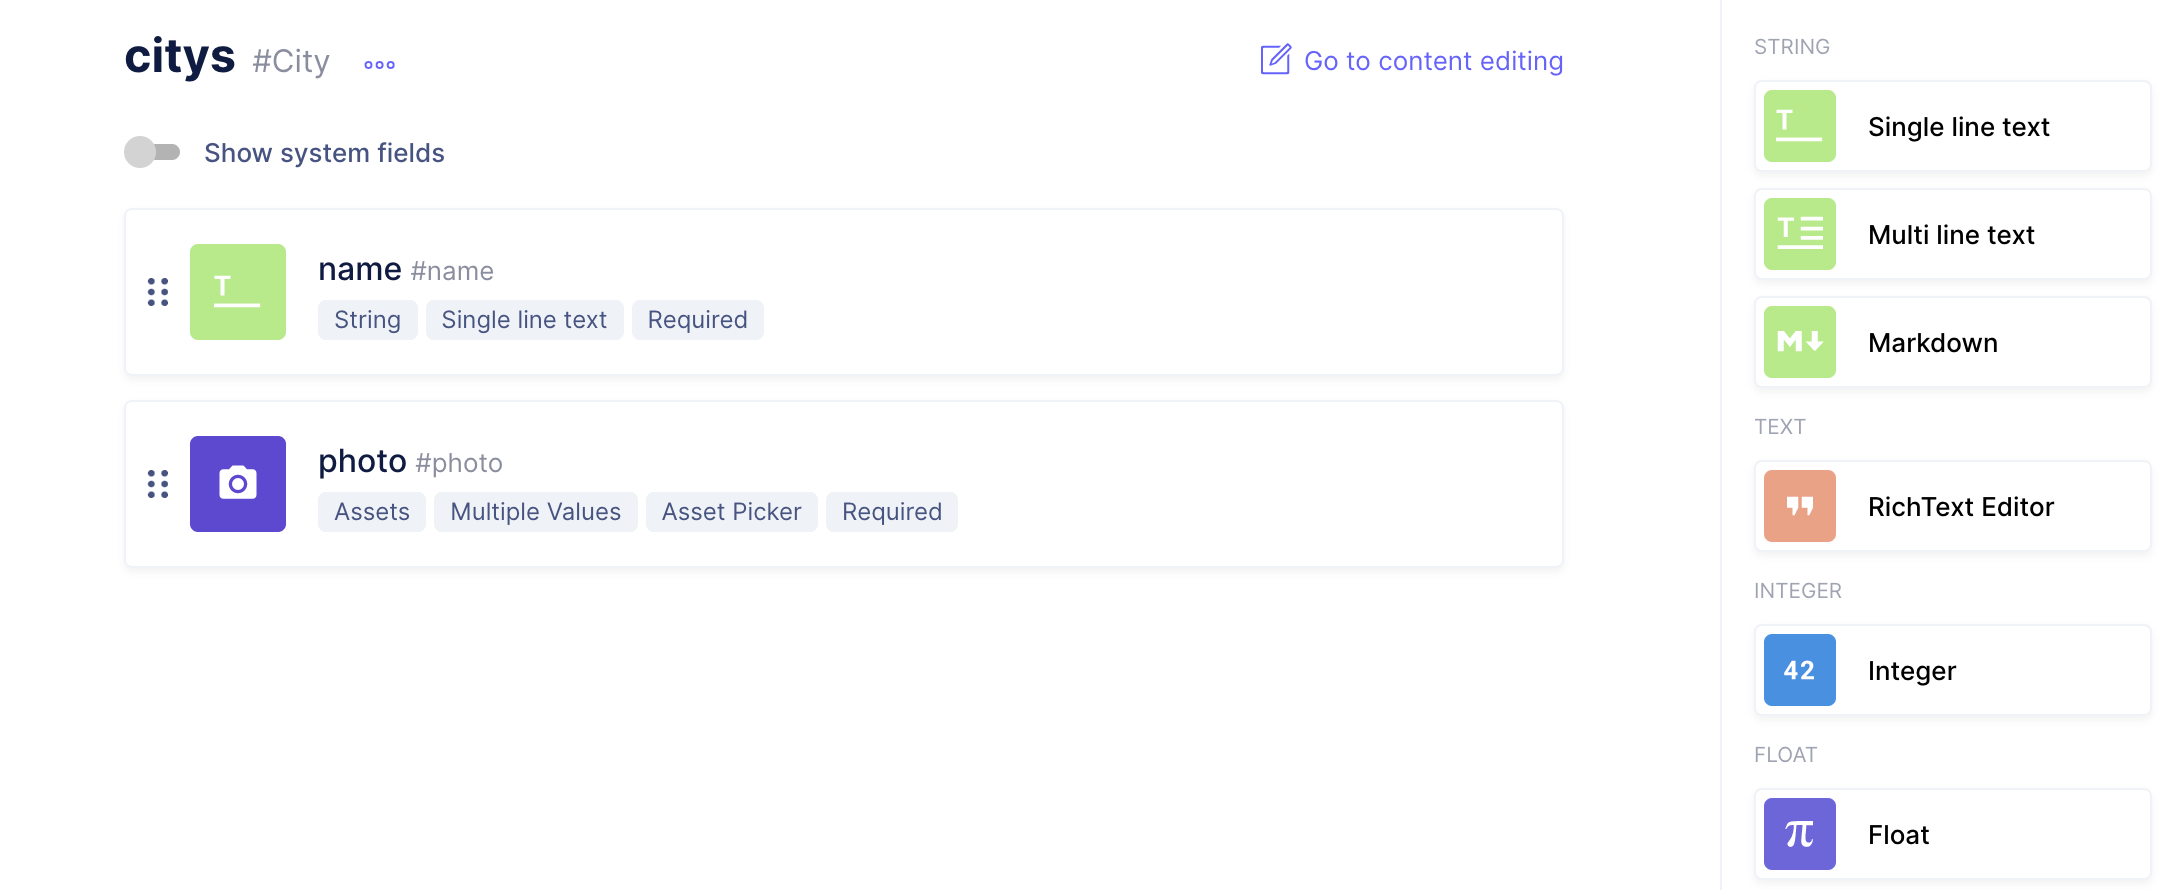
그리고 생성한 Schema에 필드를 생성한다. 오른쪽 필드 메뉴 중 변수 타입을 선택하고 원하는 필드 명을 입력한다. Required는 이후 Content를 업로드할 때 꼭 필요한 값인지 확인하는 것이다.

필드를 입력한 후, Content에서 입력한 필드에 맞게 자료를 업로드한다.
Content까지 업로드가 끝났으면, 프로젝트에서 데이터를 불러오는 코드를 작성해보자. 먼저, 필요한 패키지들을 설치하자.
yarn add apollo-boost graphql @apollo/react-hooks react-apollo
apollo-boost
Apollo Client를 쓰기 위한 패키지, gql 사용
@apollo/react-hooks
useQuery 훅 사용
apollo.js
import { ApolloClient } from "apollo-boost";
import { InMemoryCache } from "apollo-cache-inmemory";
import { HttpLink } from "apollo-link-http";

const GRAPHCMS_API =
  "https://api-ap-northeast-1.graphcms.com/v2/*********************/master";

const client = new ApolloClient({
  link: new HttpLink({ uri: GRAPHCMS_API }),
  cache: new InMemoryCache(),
});

export default client;
apollo.js파일을 생성하고 위와 같이 작성을 해준다. GraphCMS에서 생성한 프로젝트에서, Settings - API Access에 들어가면 Endpoint를 확인할 수 있다. Endpoint를 GRAPHCMS_API에 넣어준다. 그리고 App.js 에서 생성한 client를 ApolloProvider를 통해 제공한다.
App.js
import { ApolloProvider } from "react-apollo";
import client from "./apollo";

function App() {
  return (
    <ApolloProvider client={client}>
      <AppContainer>
        <Router />
      </AppContainer>
    </ApolloProvider>
  );
}

export default App;
그리고 아래와 같이 나는 query.js파일을 하나 생성해 거기서 쿼리를 작성했다.
query.js
import { gql } from "apollo-boost";

export const GET_CITYS = gql`
  query {
    citys {
      name
      photo {
        id
        url
      }
    }
  }
`;
쿼리까지 작성했으면, 이제 자신이 쿼리를 날릴 파일에서 useQuery를 사용해 손쉽게 데이터를 얻어올 수 있다.
import { GET_CITYS } from "./query";
import { useQuery } from "@apollo/react-hooks";

...

const { loading, error, data } = useQuery(GET_CITYS);

if (loading) {
	return <div>loading...</div>;
}
if (error) {
	return <div>error</div>;
}
if (data) {
	console.log(data);
}

...
'GraphQL' 카테고리의 다른 글
| [GraphQL] 쿼리 실행 과정과 리졸버 (0) | 2021.09.16 |
|---|